Beiträge von Duke

    Die Pause war sehr kurz. Bravo die bisher einen eher ruhigen Abend hatten, bretterten an uns vorbei (links und nicht rechts!).
    Ich funkte Rico noch an, dass Sie schon rechts an uns vorbei waren. Da flog auch schon eine RPG aus dem Haus vor mir Richtung Bravo.
    Glücklicherweise wieder nichts passiert. Mit dem Panzerfaust Trupp haben wir kurzen Prozess gemacht und die Attacke ging ab- und aufgesessen weiter.
    Jedenfalls mußten wir uns jetzt keine Sorgen, um den aufgeklärten Feind im Süden, machen. Dieser wurde zügig von Bravo vernichtet.


    Obj durch Bravo gesichert, Charlie in die Tiefe ausgewichen

    Obj wurde genommen und gesichert. Nach einer kurzen Lageinfo durch Rico, traten wir nun, unter Überwachung Bravo, auf unsere Flankenstellung in den ALVERNER HORST an.
    Gleichzeitig organisierten die Roten Kräfte mit ihren Restteilen und 2 Panzerzügen ihren Gegenangriff.

    Der Charlie Zug war in Kette rechts vorm Obj aufgefahren. Beim Feuerkampf gegen BMP-1 Feind in Zugstärke konnte ich keine Infanterie aufklären.
    Die hatte sich wie sich jetzt heraus stellte Stellung in den Häusern bezogen, so dass uns jetzt ein Orts- und Häuserkampf bevor stand.


    Hilft ja nichts, unter Ausnutzung des eigenen Arifeuers sind wir in die Ortschaft eingebrochen und haben die Infanterie absitzen lassen.
    Deckungsfeuer durch die SPz und mit der Infanterie Haus um Haus genommen.
    Rico war leider alleine unterwegs, da sein Kettenhund nur noch per Hand gesteuert werden wollte.


    Infanterie muss kurz nachmunitionieren

    Wir kamen recht gut voran, allerdings mit einem gehörigem Munitionsaufwand. In meinem Sektor konnte ich jetzt schon Richtung SÜDEN überwachen.
    Ich stoppte in Absprache mit Rico meinen Vormarsch, da ich nicht gleichzeitig Deckungsfeuer und Richtung SÜDEN überwachen konnte.
    Rico forderte Panzerunterstützung für den rechten Bereich an. Falli befahl daraufhin den Bravo Zug nach vorne.
    Eine kurze Verschnaufpause für uns, aber der Angriff geht weiter.

    und weiter im Text...


    So die Infanterie war nun gefragt und durchkämmte die Ortschaft, um dann SÜDLICH im Zuge K30 in Stellung zu gehen.


    Infanterie in Action


    Ulan beim umladen

    Einen Aufreger gab es dann doch noch, als mein Richtschütze meldete Infanterie in Ortschaft.
    Ein Blick in die Karte, ok nur ein MG Trupp kein Problem. Es war auch nur noch ein Schütze der sich vermutlich in der
    Zwischenzeit in einem Iglo verkrochen hatte.


    RIP


    ZZ genommen, alle Teile aufgesessen

    Uns war leider nur eine kurze Verschnaufpause gegönnt, denn der Befehl weiter im Zuge K30 anzutreten kam prompt.
    Nach 48 Minuten war mein Halbzug an K30 SCHMAULBERG in Stellung, Rico im Tiefschnee 500m hinter mir, Alfa im Anmarsch auf ZZ, Versorgungsteile in ZZ,
    sowie Bravo noch in Stellung OSTWÄRTS ZZ. Und wie man es in der Karte sieht ein feindlicher Infanterietrupp mit RPG NÖRDLICH ENGE.


    x+48min


    Ich in Stellung bei K30 SCHMAULBERG.


    Mein Zugführer gab mir den Befehl auf die Schützen anzutreten. Das sind jetzt die Momente in denen man sich sein KI Kettenhund menschlich besetzt wünscht.
    Bravo konnte den Bereich nicht einsehen, und so mußte ich in den Vorderhang fahren. Zu meiner rechten wurde das Gelände offener. Hoffentlich steht da nichts,
    dachte ich mir. Aber die Überwachung kam in Gestalt von Alfa, die meine Stellung übernahmen und die rechte Flanke im Griff hatten.
    Ich habe mich also nach links verschoben und mein Richtschütze erkannte Wärmequellen in Obj.


    Wärmequelle vermutlich BMP-1


    Schnell gemeldet und den Feuerkampf aufgenommen und den BMP vernichtet, wo bleibt denn nur Rico.


    Mein Zugführer kam zu meiner Linken in Sicht und gemeinsam haben sind wir in Kette auf die feindliche Infanterie angetreten.
    Die war natürlich im Tiefschnee eingraben, so dass die HE Munition nicht so recht zur Wirkung kam.
    Aber 4 Ulan gegen einen Schützentrupp war dann doch genug. Wichtig beim Kampf gegen RPG Trupps ist immer diese niederzuhalten.
    Da kommt der PzFst Schütze gar nicht erst auf die Idee mal einen abzufeuern.


    Im nächsten Bild sieht man es dann, alles paletti (berühmte letzte Worte).


    Nachdem Falli sein Versorgungsteile Mikromanagement abgeschlossen und zu uns aufgeschlossen hatte, begann mit Ari Vorbereitung der Sturm aufs Obj.
    Kurz nach dem Befehl zum Angriff kläre ich 2 BMP-1 in Obj auf und nehme den Feuerkampf auf, gleichzeitig tritt Alfa auf der Straße an.
    Rico schreit noch Achtung Panzerfaust, da flog sie schon Richtung Panzerzug. Gott sei Dank kein Schaden.
    Der Kerl lag so gut, dass 4 Ulan im kreuzenden Beobachtungsbereich ihn nicht aufklären konnten.
    Da er sich nicht ergeben wollte, blieb uns leider nichts anderes übrig; RIP.


    da liegt er

    Inzwischen war Alfa schon fast in ihrer Flankenstellung und bekamen nun Feuer aus Richtung Obj.
    Die Situation war jetzt kritisch, überall Feuerkampf, Arifeuer und dieser verfluchte Tiefschnee.
    Mit unseren Alterspräsidenten war heute aber nicht zu Spaßen, so dass Sie Ihre Flankenbedohung ausschalten konnten und gleichzeitig die rechte Flanke der
    Kompanie überwachen konnten, während wir mehr mit dem Schnee, als mit Feind zu kämpfen hatten.


    Charlie bereit zum Angriff auf Obj


    Eine gefühlte Ewigkeit später waren wir dann am Nordrand Obj angekommen, doch was wir da im Wärmebild sahen, machte uns
    nicht gerade glücklich.

    So weiter gehts...


    Rico hatte Kette rechts befohlen und los ging der Angriff.
    Absicht war solange wie möglich aufgesessen zu bleiben. Wir konnten die feindliche Infanterie ebenfalls schon recht frühzeitig unter Feuer nehmen.
    Allerdings war unser Angriffstempo durch den Tiefschnee nicht sonderlich schnell. Das hatte aber auch seine positive Seite, so konnten wir unseren Feuerkampf besser koordinieren,
    denn Ziele gab es genug. Die Infanterie aus ihren Stellungen zu schießen, wurde durch den Tiefschnee ebenfalls erschwert.
    Es gelang uns doch, ohne Verluste ZZ nehmen.


    Hier ein paar Impressionen:


    x+35min ZZ genommen, Restteile Feind im Süden im Zuge K30


    Wir mußten allerdings im Endkampf um ZZ unsere Infanterie absitzen lassen, da unseren SPz die HE bzw MG Munition ausging. So mußte unsere Infanterie raus in den Schnee, um unsere Geländegewinne zu sichern.
    Gleichzeitig konnten unsere SPz nacheinander nachladen, so dass die Infanterie immer mit mindestens 2 SPz unterstützen werden konnte.

    Servus,


    hier ein AAR vom 16.11.2013. Das Scenario heißt "Schneeketten" und kann im Downloadbereich herunter geladen werden.


    BLAU hat einen Angriff in Kompaniestärke durchzuführen.


    Kompaniechef: Falli


    Alfa Zug (4x Leo1A5): unsere Leonerds Eisenschwein und LtDan


    Bravo Zug (4x Leo1A5): unsere Young Guns Gladiator und MR_Burns2


    Charlie Zug (4x Ulan): Zugführerlehrling Ricopico und meine Wenigkeit


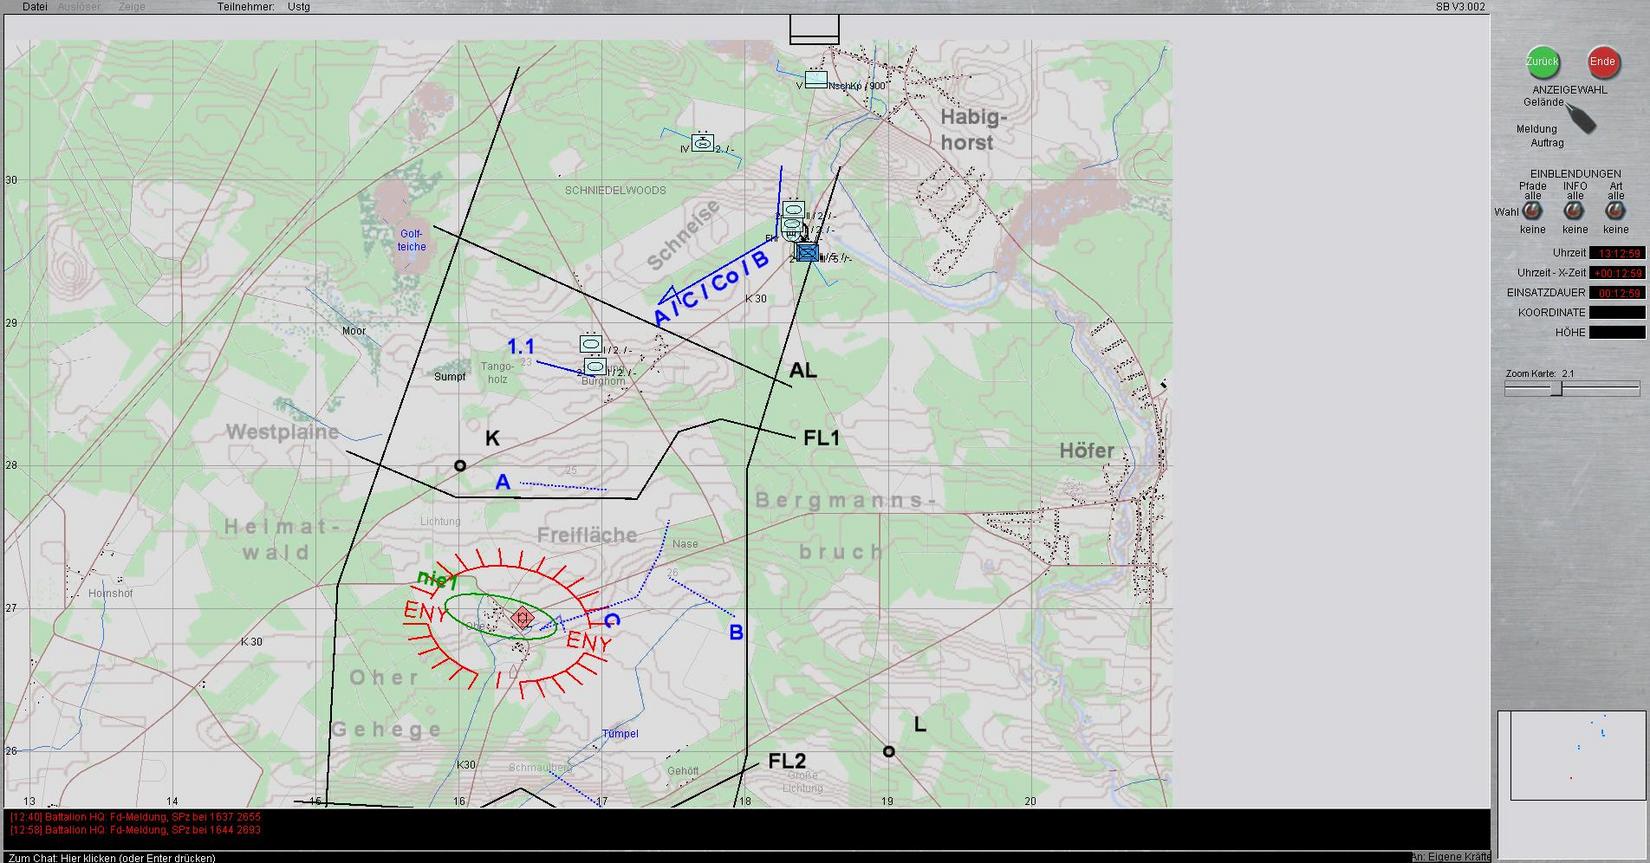
    Hier die Karte mit dem OP Plan von Falli.
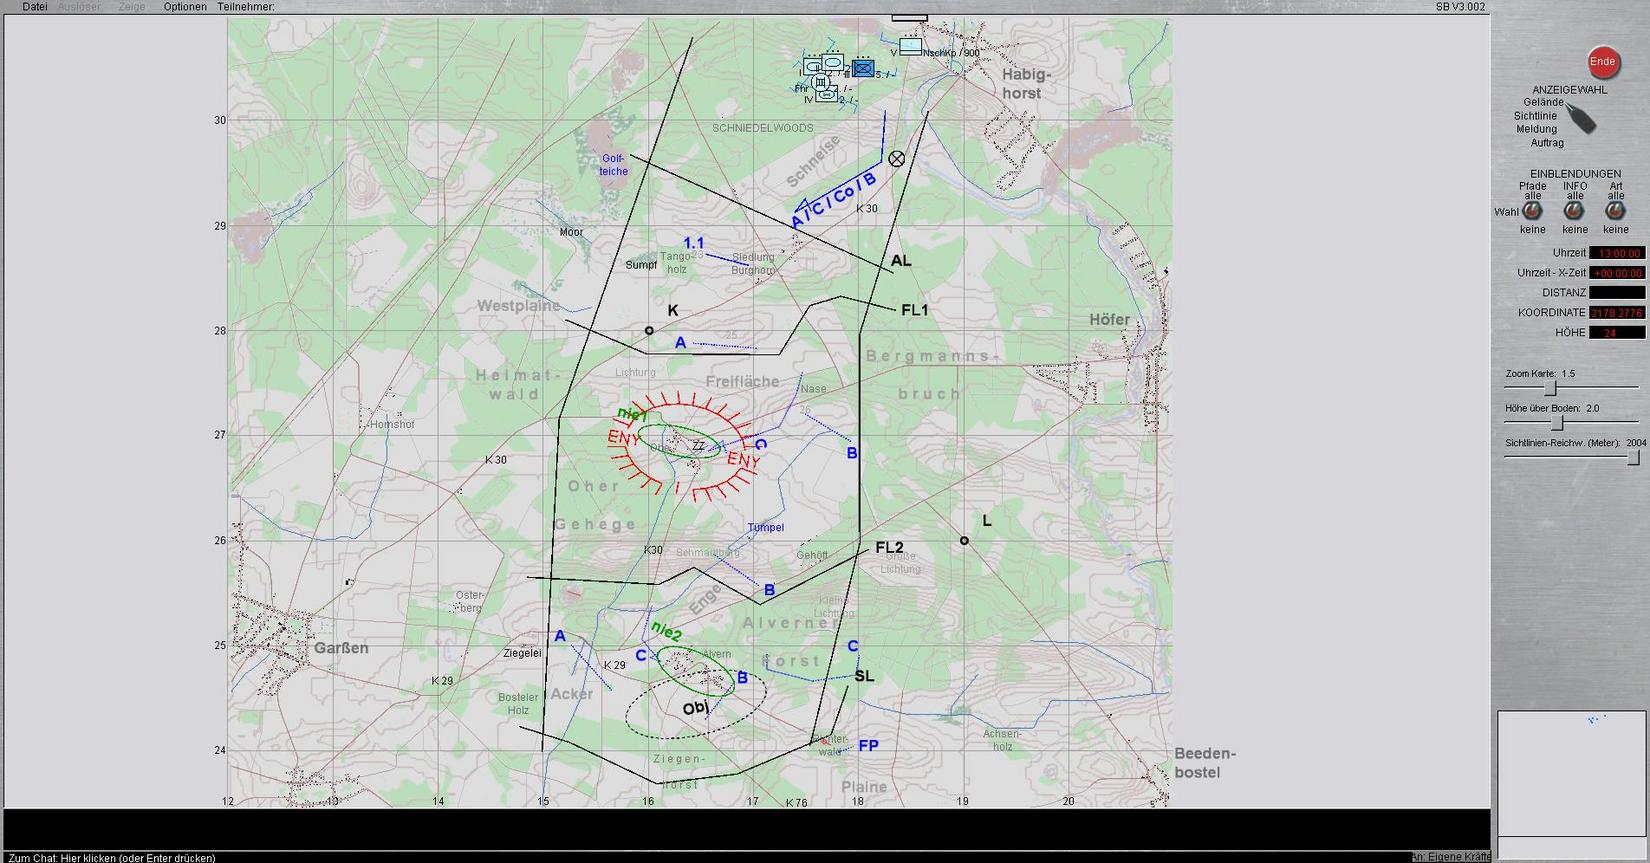


    Der Plan von Falli:


    Antreten mit Alfa voraus über K30 Richtung 1.1 in Stellung A bei FL1.
    Alfa geht dort so in Stellung das in Richtung ZZ (Ortschaft OHE) überwacht und gewirkt werden kann.


    Charlie, KpChef und Bravo folgen im Abstand 1000, beziehen zunächst gedeckte Stellungen im Zuge K30/ SCHNEISE.
    Charlie stellt sich darauf ein über AL und FL 1 Richtung Freifläche NÖRDLICH NASE anzutreten, um von dort a.B. auf ZZ anzutreten und dieses zu nehmen.


    Bravo stellt sich darauf ein Charlie zu folgen und SÜDLICH NASE Stellung B zu beziehen, um Richtung SÜD WEST zu überwachen.


    Nachdem ZZ durch Charlie genommen wurde, tritt Charlie im Zuge K30 weiter an und bezieht NÖRDLICH ENGE Sturmausgangsstellung für den Angriff auf Obj.
    Alfa marschiert hinter Charlie stellt sich darauf ein Charlie zu unterstützen bzw. a.B rechts von Charlie mit anzugreifen.
    Alfa geht dann so in Stellung, dass rechte Flanke Charlie gesichert wird und Richtung ZIEGELEI; BOSTELER HOLZ und ACKER überwacht und gewirkt werden kann.
    Bravo zieht a.B. nach und stellt sich darauf ein Charlie im Angriff zu unterstützen und nachdem Obj genommen wurde Stellung B SÜDOSTWÄRTS Obj zu beziehen, um dieses zu sichern.


    Zu guter Letzt bezieht Charlie im ALVERNER HORST eine flankierende Stellung auf-und abgesessen und bezieht eine Feldpostenstellung im RICHTERWALD.


    Los gehts:


    Verfügungsraum, Rico mit seinem KI Kettenhund rechts vor mir


    Alfa tritt an


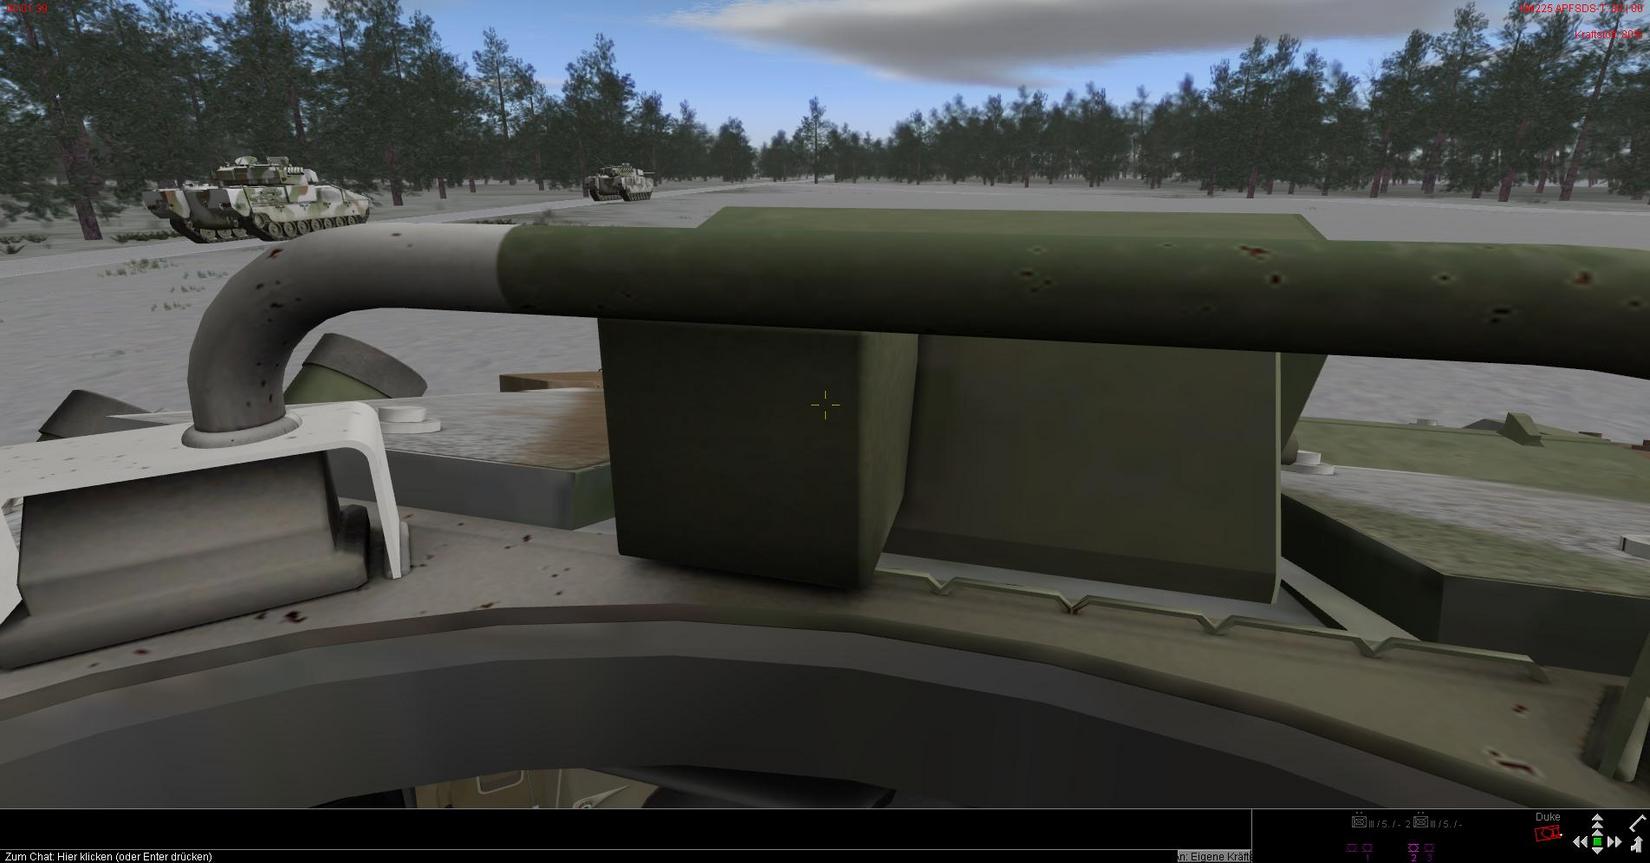
    Kommandantenplatz SPz ULAN


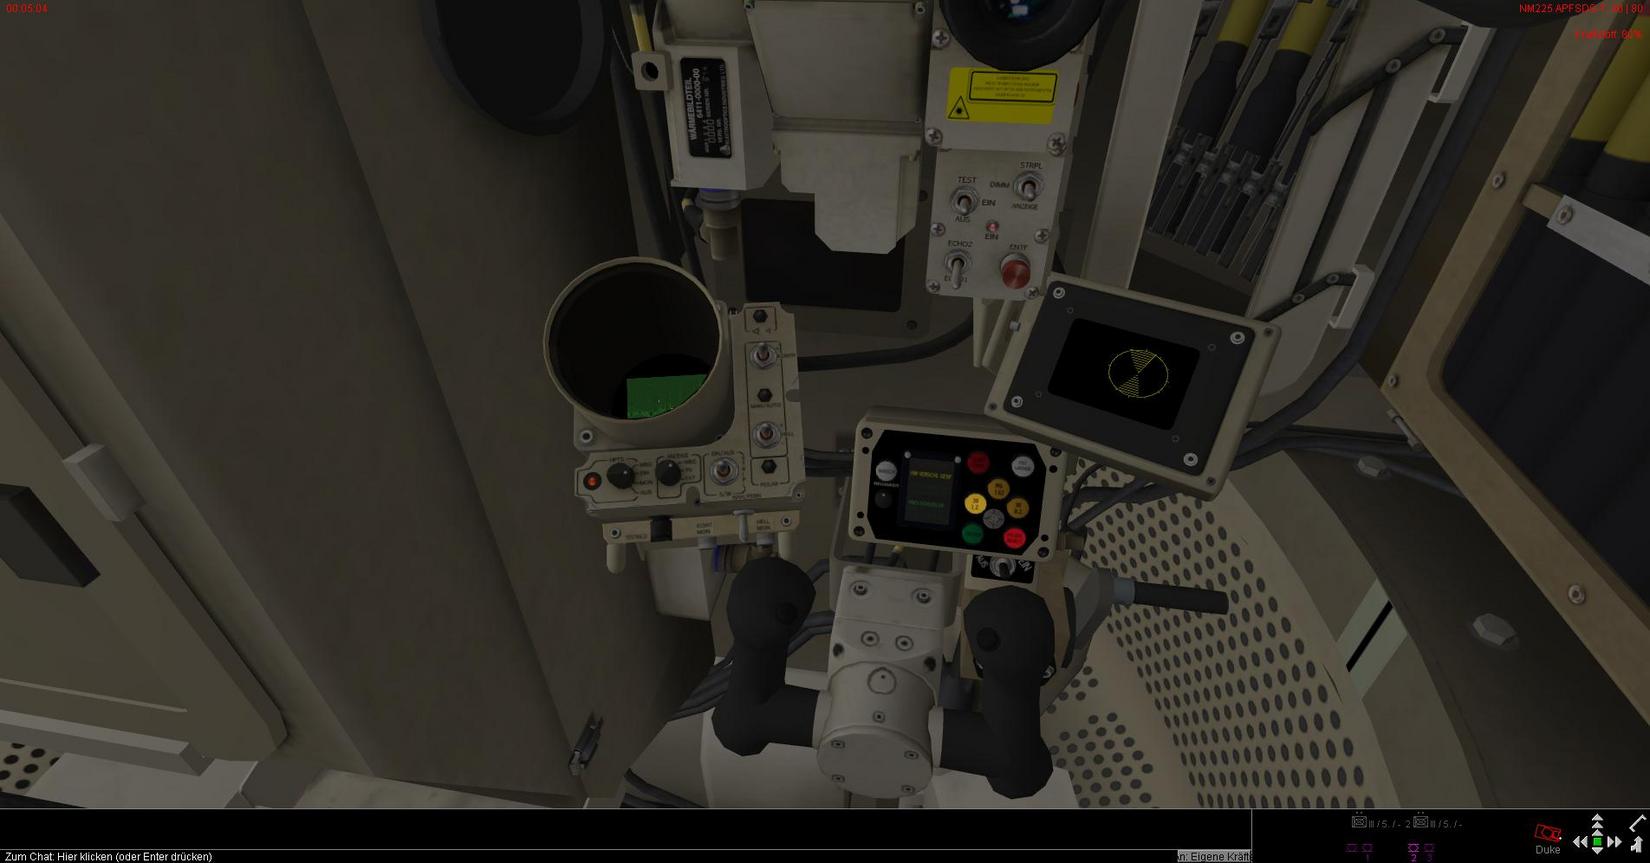
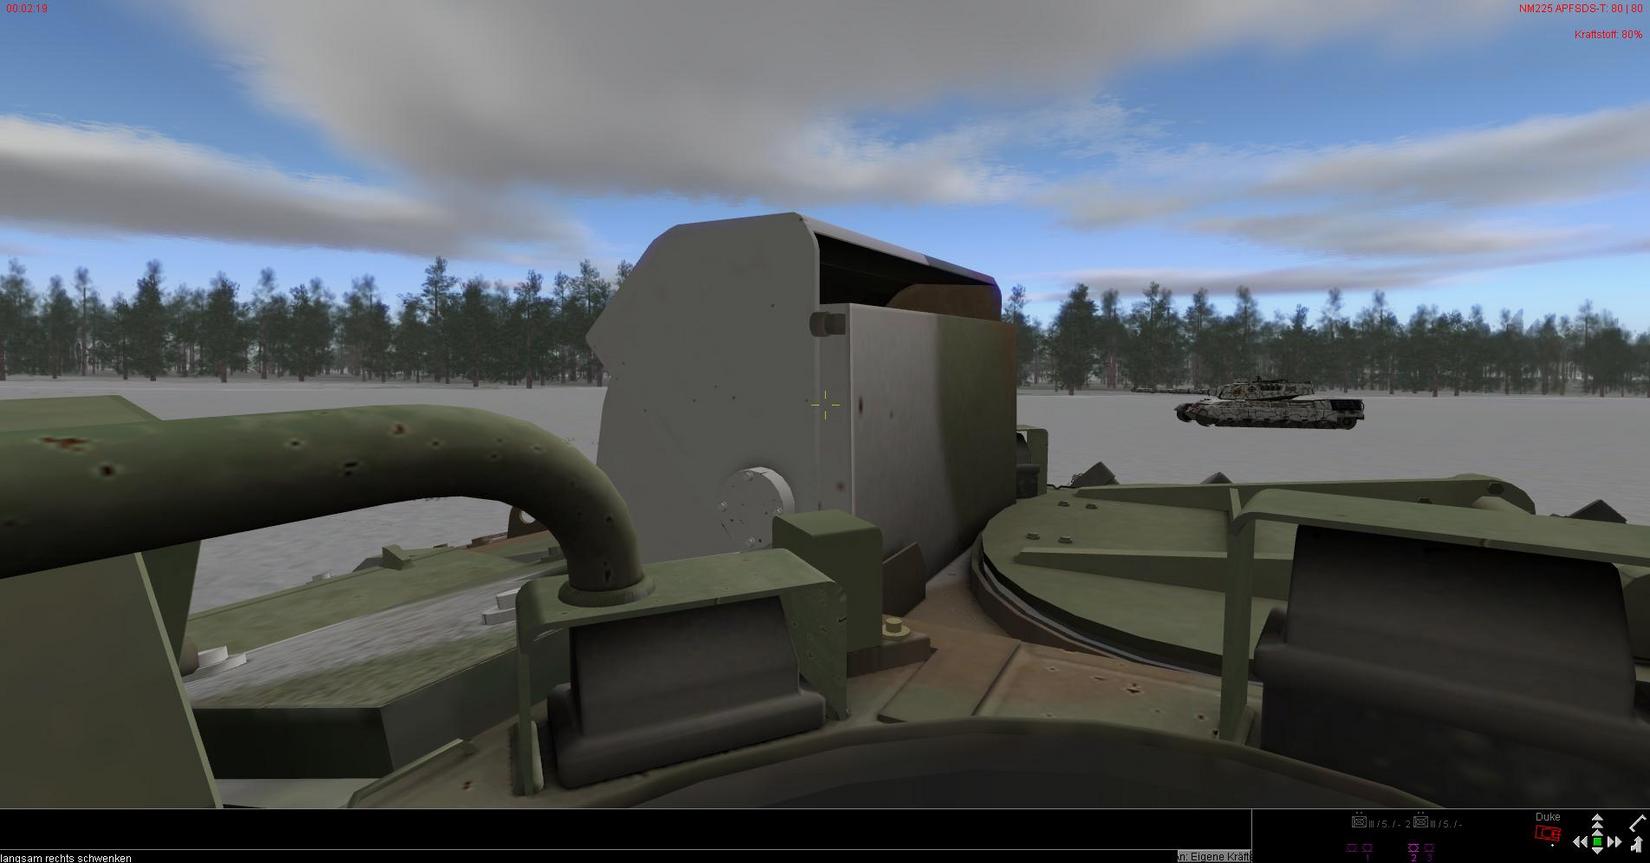
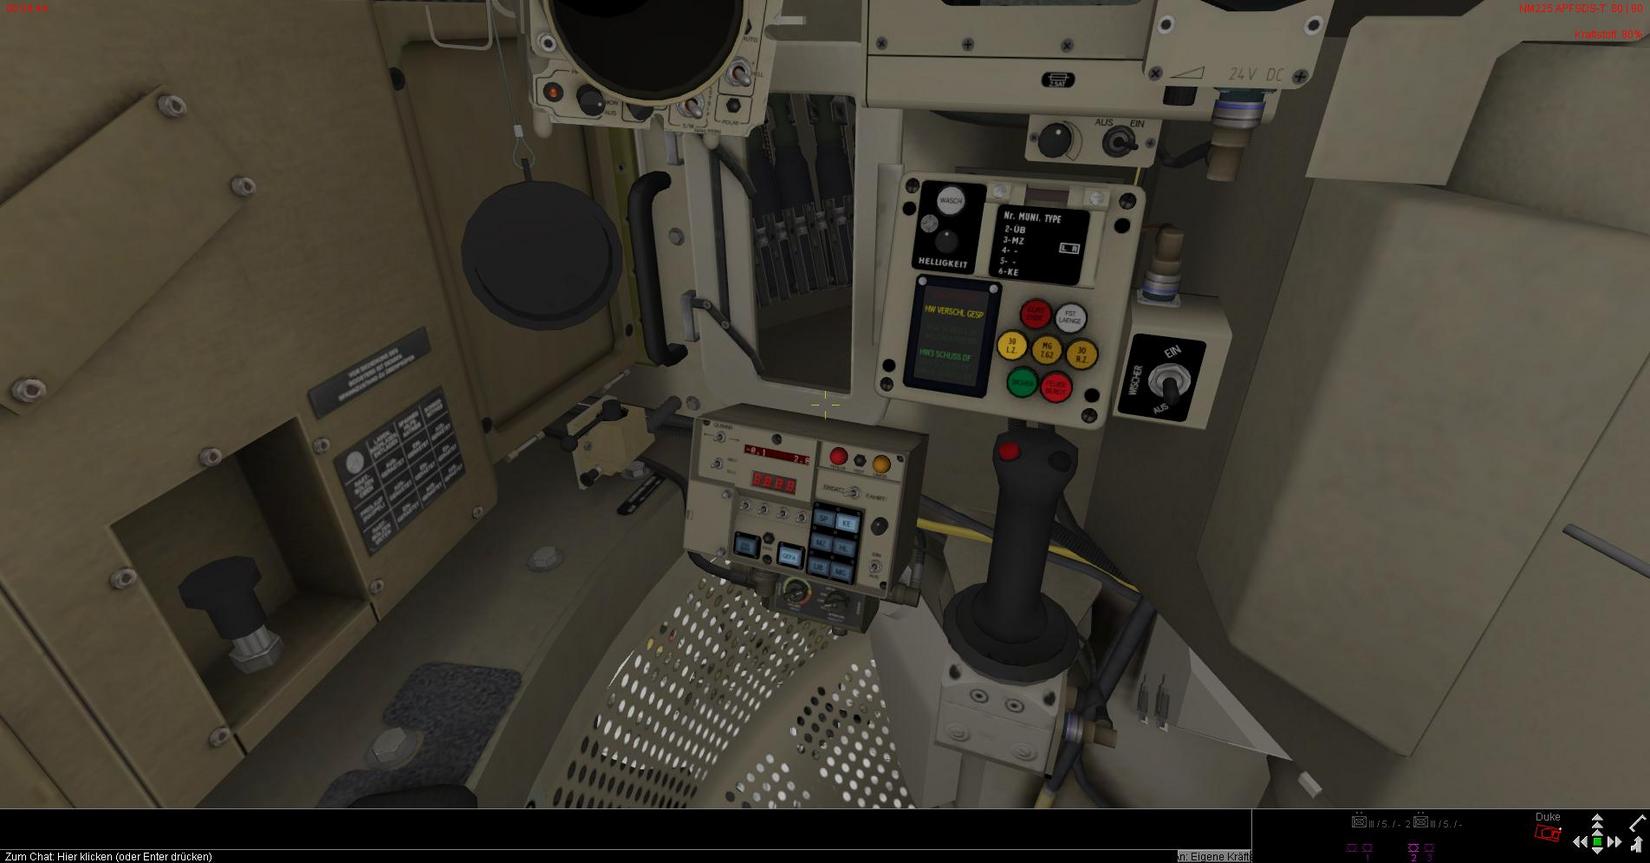
    Richtschützenplatz SPz Ulan


    Die Stimmung bei uns im Zug war super, da wir bis jetzt auch nur eine Marschübung zu absolvieren hatten, und den Funkgesprächen zwischen KpChef und Alfa lauschen konnten.
    Das ganze war ziemlich lustig, da man nach einigem hin und her nicht mehr wußte, war der Deckname vom KpChef eigentlich Eisbär, Braunbär oder Pombär.
    Irgendwann glaube ich, hat auch Falli die Übersicht verloren.


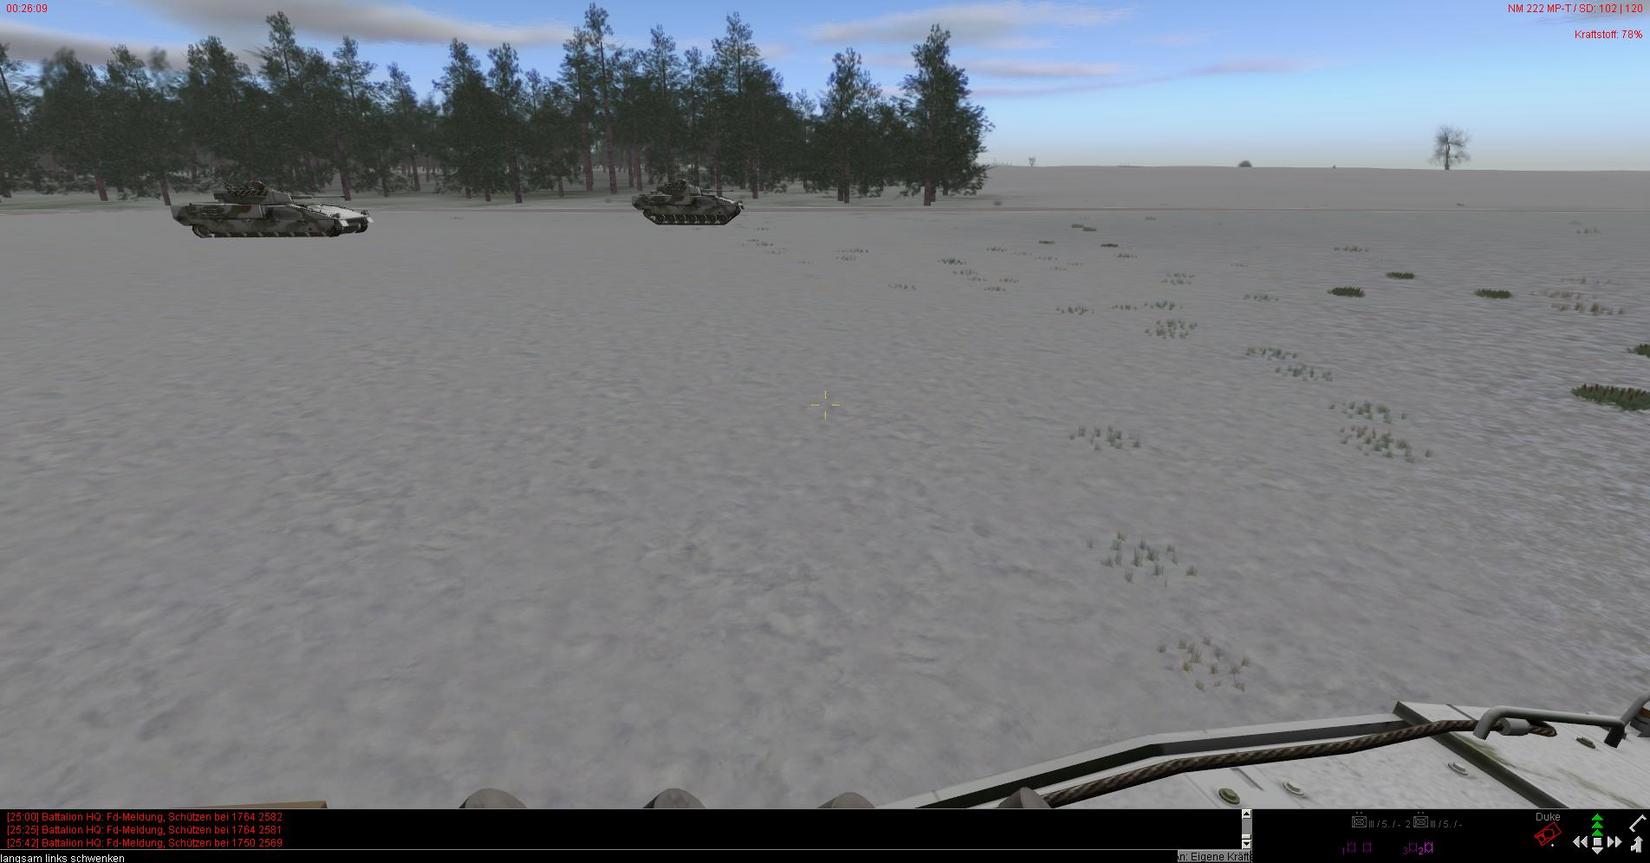
    Jedenfalls erreichte Alfa die 1.1 Stellung und konnte von dort ZZ überwachen. Aufgeklärt wurde zunächst BMP-1 in Zugstärke und die Action begann.


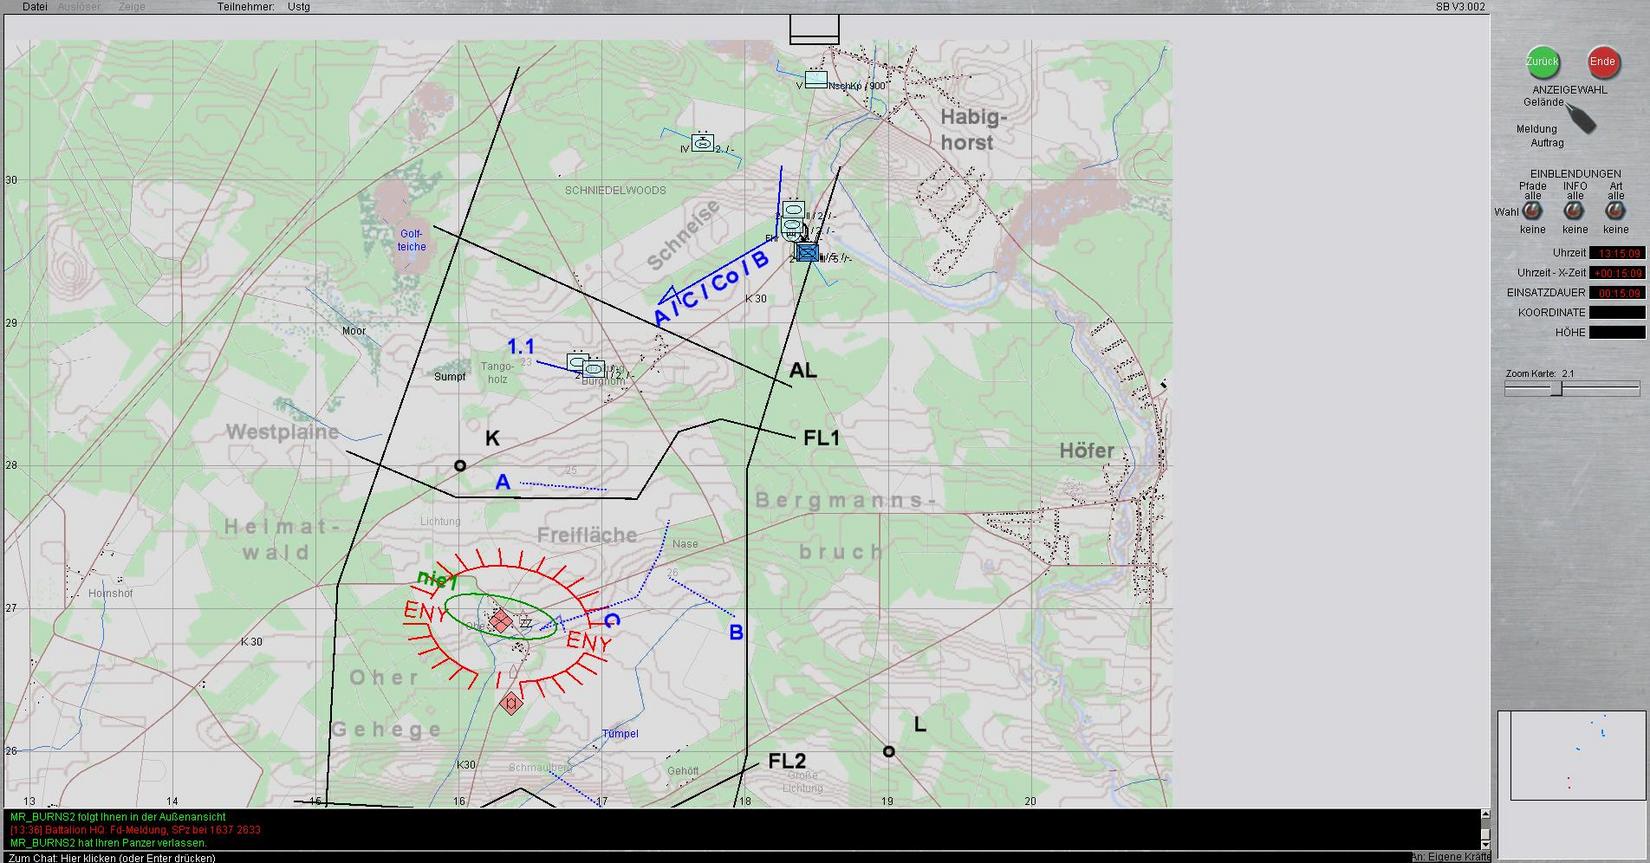
    Alfa überwacht aus 1.1 und führt erfolgreich Feuerkampf


    Unsere Leo1 Nerds machten kurzen Prozess mit den feindlichen Spitzen und Wir und Bravo bekamen unseren Marschbefehl.


    Marsch tief gegliedert in den Bereitstellungsraum

    Nachdem wir den Wald verlassen hatten, feuerte plötzlich der Kettenhund vom Zugführer Richtung WESTEN.
    Mein Richtschütze meldete BMP-1 und durfte den Feind ebenfalls niederhalten.
    Rico meldete alles nach oben weiter und Alfa erledigte den Rest.


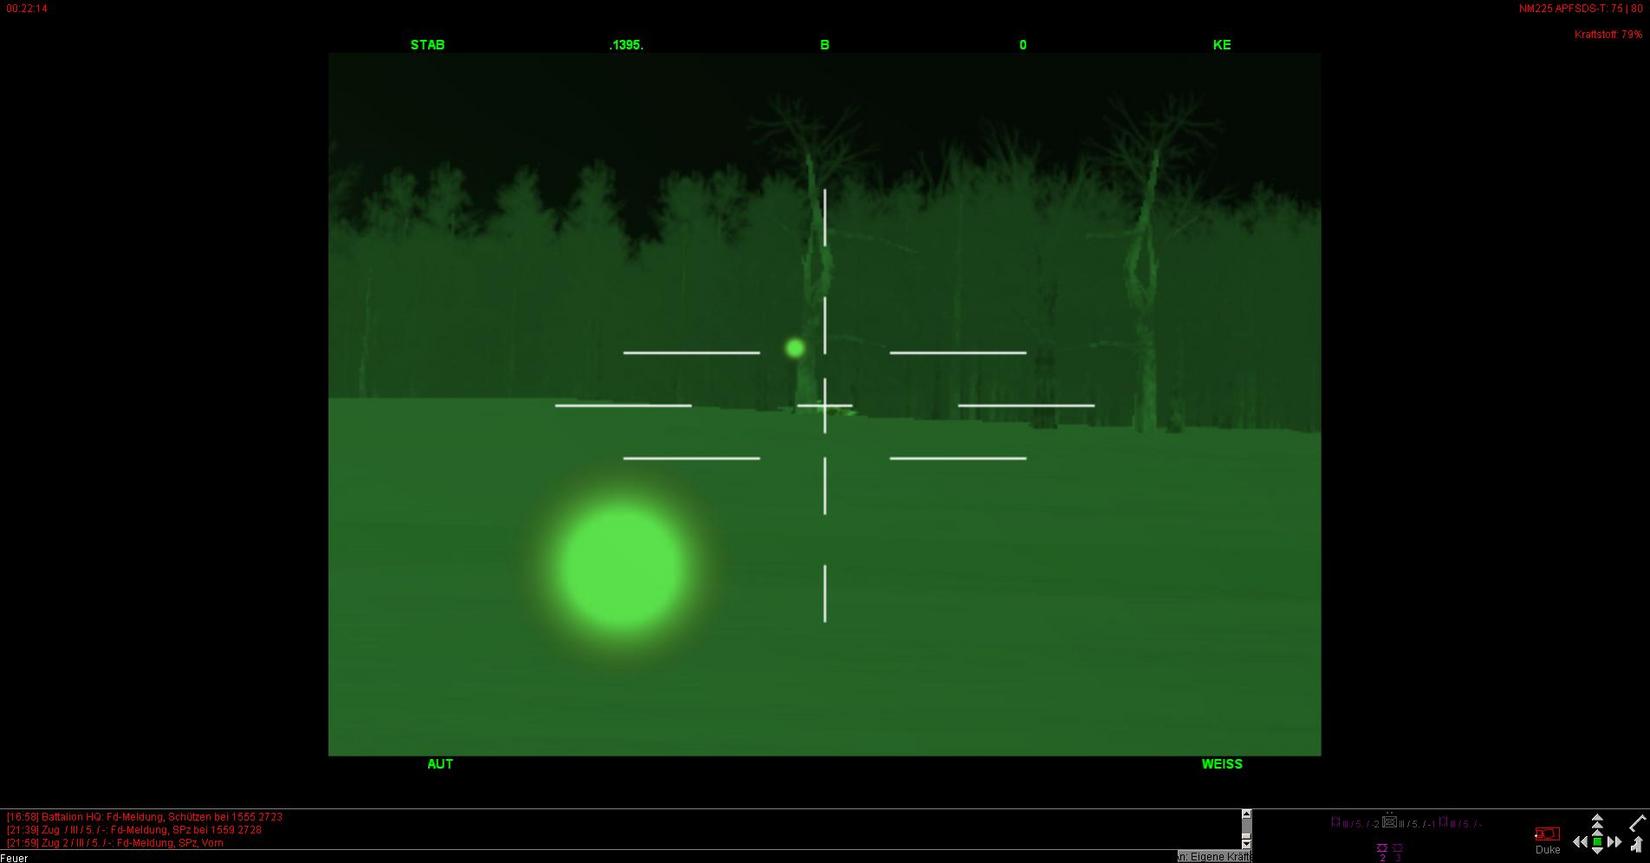
    Feuerkampf auf BMP-1


    x+22min Alfa und Charlie in Position


    Charlie zum Angriff auf Obj bereit

    Nachdem Bravo seine Überwachungsstellung bezogen hatte, gab Falli den Angriffsbefehl und unsere Ari begann die feindliche Infanterie in ZZ niederzuhalten.


    Servus,


    Sieg obwohl die Kameraden von der anderen Feldpostnummer heute geschossen haben, wie die Weltmeister:


    Dr.Thodt erwischt es durch das Haus (im AAR überprüft aus Feindsicht ???)


    Heidi erwischts (Aus Feindsicht war 1 Pixel zu sehen, allerdings über WBG (T-80)???)


    Ich bekomme eine Verplättet ???


    aus anderer Perspektive


    T-80 in Stellung


    Trotzdem hats Spaß gemacht und der Brückenkopf wurde gehalten.


    MkG


    Duke

    ROT:


    bisher in Mission 1 verwendet:

    (v.l.n.r.: 2S1; 1.2tTechnical-T, RCL; Ural-4320; BMP-1/Medic; BTR-80; BTR-50PK)


    BTR-80 Skin von Zipuli, Rest Original


    In Mission 2 zusätzlich verwendet:


    BRDM-2; T-72M1


    MkG


    Duke

    BLAU:


    Leopard 1A5DK (Template dejawolf)


    M113A3 (template dejawolf)


    M113A2 (template dejawolf)


    M113 G3 TOW (Ausgangsskin von congo)


    M109A3 (template dejawolf)


    Wisent ARV (Ausgangsskin von Gladiator(911))


    M113A3/Medic (template dejawolf)


    MAN 10t/Supply


    Infantry (template dejawolf; Kopf und Helm von Falli(911)


    M88


    Berge-M113


    M113 G3 DK mit Waffenstation cal.50


    HEMMT, Fueler; HEMMT, supply

    Unimog, supply


    MkG


    Duke

    Servus,


    Download Server AAR


    Anfangsbild:


    AAR 12Alfa:


    On the afternoon 2nd of November, they were at war. It had begun with widespread air attacks followed by the landing of airborne troops in the rear, disruptive sabotage and the crossing of the boarder on the night of the 29th by strong Warsaw Pact forces. So far the 4CMBG lay relatively undisturbed despite the almost ceaseless air warfare, the heavy rumble of battle away to the east, and the tensions induced by anticipation, by occasional bombing and rumors of spies and saboteurs at large amid the towns, villages and woods where the brigade group lay hidden in wide dispersion ... for fear of nuclear attack.
    After moving into Sandweier for orders the CO along with two tank troops from 8Canadian Hussars, RCHA,2RCR, and other elements moved into their assigned battle positions. This was done for the most part without any problems, but with any movement there were a few issues. One of the troops Leopards ran into the center concrete medium on the main route leading north from Sandweier, and resulted in a crewmember injured, the CO sent the medics to the Leopard, but this crew did not make its battle position.


    No sooner than the Combat team drove into their assigned areas the enemy showed among fleeing civilians from the war. At first there was panic over the air, however the CO found the information he needed and issues quick orders to reposition his Leopards on south eastern side of the AO. Meanwhile on the northern side a lone vehicle attempted to run the battle position, almost catching the fire team of Leopards off guard. The fire team commander Tango 11 not knowing of the kill from his wingman 11B, moves to search, for what he though was a hole in his battle position, which the enemy had gone through. The fog of war had set upon the area. Another high speed run at Tango 12B had the same result, the Canadians being confident after winning CAT in the previous years.

    A few BTR-80’s units from the 302th MRR moved into the AO, and were tracked down and stopped. They had entered the rear of the battle position, just drove straight through, a sharp 12B crew swung their L7 around at max turn rate, and sent the dart into the amour at nearly the speed of sound. The wingman 12A followed with another sabot. The battle position was on fire with gunfire and sabots.


    Schlussbild:


    MkG


    Duke

    General Outline of play:


    This campaign will be played for one 24hr battle in segments. The first mission of the time slot (weekend) will be a resupply/Recon mission for both sides.
    The second times slot mission will be (if the sides chooses) will be where movement into combat takes place.
    Two missions for one weekend/day till the end may not be every weekend. Each mission will be 120 minutes in duration.
    As of now the rules for the campaign.


    Resupply/Recon Phase(R/R):
    In this phase the side must move to resupply his forces in combat in both fuel, and ammo, vehicular replacement takes place also. If one side wishes to do recon, and if players and equipment is present, and operational, it may take place.
    Resupplying requires forces from the rear to be moved to units/dumps, resupply areas etc., and should be under escort. This is due to the fact if a side loses some supply capability it will hamper his movement due to no fuel and loss of ammo. Resupply areas must be established from where resupplying units draw from, each side may build such areas, however the supplies still originate from the initial resupply point to all others up the chain.
    In the (R/R) both sides will have a opportunity to interdict the other sides supply chain in the form of a small force, placed where due to his Intel on the route(s) of the attacking side.


    Combat Phase(CP):
    In this phase based on the [B](R/R) both sides undertake combat with their available forces. Commander on both sides indicate which units they require through the [B](R/R) and now in place to carry out said combat. Both sides have a pool from which they may call up from, but only through the resupply phase from the rear area, nothing just appears on the battle field. Both sides should plan for units from rear holding areas to be moved to the mission areas. In additional to resupply damaged units/vehicles can be returned to the rear to be repaired for another mission under repair time rules. Destroyed tanks cannot be used again, dead is dead (on fire).


    [/B][/B]Forward Lines of Engagement:FLOE
    This FLOE is fluid, and depending on combat may change from mission to mission. The Campaign director will make known prior to each [B](R/R) a rough FLOE to both sides.


    [/B]Mission Size:
    Mission size will not exceed 20 AFV’s. As a general rule a Troop of tanks and a Ptl of APC’s with some additional assets’ will be the norm. This will I hope increase players awareness due to no map update’s and the close nature of close combat in difficult terrain. Both commanders will have a difficult time controlling and direction of forces in larger numbers, if the missions see no issues, then forces would increase to reflect this.

    Victory Conditions:

    If the WARSAW Pact forces (1 Coy) reaches the western edge of the map by combat phase 12, they win. Nato (4CMBG) wins if it delays the WARSAW victory.

    Combat area:
    The first (R/R) and [B](CP) will be directed by the Campaign director [B](CD) after that Soviet side will choose from a standard (TBD) size starting grid(s) to launch from. The [B](CD) will place the 4CMBG in the area in follow on missions. This will not be exactly in front of the Soviet’s; rather the 4CMBG’s recce must inform their CoC of any Intel they gather in the [B](R/R) if any.
    [/B][/B][/B][/B]
    Insertion units(IF):
    After the combat phase, and before their [B](R/R) each side will send the [B](CD) where he will place his [B](IF). In the following [B](R/R), they will become playable to each side to interdict if possible. Said forces will be given one grid to operate, no movement is allowed outside this area. Violations will cause a reduction in supply trucks in the form of one/one to the player. Once place they will remain in that grid, unless recovered and returned to a Sqn/Coy HQ to be deployed next phase after being re-supplied. [B](IF) units may be driven / flown, out of grid.
    [/B][/B][/B][/B][/B]
    Map updates:
    Map updated will show for Sqn/Coy only and only if certain units still remain operational. Each side will have units designated essential to their Command and control, loose these units and comms go down till replacements are brought into the Sqn/Coy’s battle space (Area in which Sqn/Coy operates , drawn on the map around all of its units).

    Obstacles:
    Obstacles are carried on designated carriers. Players are to confirm, and if said obstacles are to be used moved to the area, and placed with Engineer units. First obstacle is known to be with engineer unit. After first obstacle is placed, all others must come from designated supply vehicles, from a resupply area through the log chain.

    Aircraft:
    Both sides will have helo’s. The Soviet side will have the same number as 4CBMG as not to off-set the balance of play. The following Campaign “Counter Stroke will be different in use and numbers”


    Medical:
    All injured (not Dead) pers moved back to the aid area designated by CO’s on map will recover for next (CP)

    Veh repairs:
    Use med rule.


    Disputes:
    There will be none, jk’ing. (CD) shall meet with both CO’s and work out an issue fair to both sides.


    Servus,


    Die Kampagne orientiert sich am Roman "First Clash" von Kenneth Macksey.

    Dies ist ein Aussschnitt eines Beitrages von 12Alfa.
    Er ist Ersteller und Koordinator der Kampagne, sozusagen Leitung und Durchführung in einer Person.

    The campaign is focused at the Battle Group/Combat Team level, following the activity from the assembly area to performing a withdrawal under pressure.

    Deployment of 3 Royal Canadian Regiment (3RCR) Battlegroup as part of a 4 Canadian Mech Brigades defensive battle plan and the attack against them by 290 Motor Rifle Regiment and 301 Tank Regiment.


    The Battle Group comprises 3 Mechanised Companies, Anti Tank Platoon, Recce Platoon, Mortar Platoon, a Tank Squadron, a Battery of Guns and an Air Defence section of Javalin.


    In addition support from the brigades Helicopter Squadron and the use of Engineers to create an obstacle plan. The Campain considers the preparation for and deployment to the defended locations, the sequence of the battle preparation and the detail of the occupation of the defence, then the actions against the two Soviet units which includes their engagement of 3RCR's covering force elements followed by the main action and the sequence of arrival by the Soviets onto the RCR positions. It closes with the 4 Canadian Mech Brigade withdrawing covered by the Royal Canadian Dragoons (RCD) Squadron Group comprising 2 Troops of armour and a mechanised platoon from the Royal 22e Regiment (R22R) together with two sections of anti armour weapons and support from the RCD Recce platoon in Lynx supported by the Brigades Artillery Regiment and unit mortars.


    Gelände/ Karte:


    Gliederung BLAU:


    Gliederung ROT:


    MkG


    Duke